Struggling to achieve a clean, professional sound in your home studio? Those pesky low-end frequencies can muddy up your mixes, leaving you frustrated. But before you resign yourself to expensive acoustic treatment, there's a powerful weapon in your arsenal: DIY bass traps!
Building your own sound absorbers isn't just surprisingly cost-effective, it also allows you to tailor them to your specific space and needs. Imagine crafting sleek bass traps that not only tame those boomy lows but also add a touch of style to your studio.
Ready to take control of your sound and elevate your mixes? Grab your tools, put on your favorite tracks, and let's embark on the journey to crafting the perfect acoustic environment for your music studio!
TABLE OF CONTENTS
What Are Bass Traps And How Do They Work?

Before we dive into the world of DIY bass traps, let's take a moment to understand their purpose and how they work their magic.
Bass traps are specialized acoustic absorbers designed to tackle low-frequency sound waves. Unlike their mid-range and high-frequency counterparts, these stubborn bass waves tend to bounce around your room, creating unwanted resonances and muddying the overall sound. Here's where bass traps step in:
- Absorption: They are crafted from materials with high gas flow resistivity, meaning they resist the movement of air particles within the sound wave. This resistance converts the sound energy into heat, effectively absorbing the low frequencies and reducing their presence in the room.
- Placement: Strategically positioned, typically in corners and along walls where bass tends to accumulate, they dampen these unwanted resonances, resulting in a cleaner and more controlled low-end response.
Think of bass traps as the bouncers of the acoustic world, selectively letting in the desired frequencies while politely escorting the boomy bass out the door. The result? A tighter, more accurate listening experience that allows you to hear more detail in your music.
DIY Bass Trap Materials

To turn your home studio into a bass-busting haven, you'll need a handful of key ingredients:
Frame:
- Wood: Sturdy 1" x 4" boards are a popular choice, but you can adjust the dimensions based on your desired trap size and shape.
- Optional: Screws, nails, and corner braces for added stability.
Absorption core:
- Rockwool Safe & Sound: This is a safe and effective option known for its sound-absorbing properties.
- Owens Corning 703: Another popular choice, offering excellent absorption at an affordable price.
- Alternative: Recycled denim insulation can be a budget-friendly option, though its effectiveness may vary.
Fabric:
- Breathable acoustic fabric: This allows sound to pass through while absorbing unwanted frequencies. Guilford of Maine Anchorage Fabric is a widely used option.
- Considerations: Choose a fabric that complements your studio's aesthetics and is easy to work with.
Assembly tools:
- Staple gun and staples: To secure the fabric to the frame.
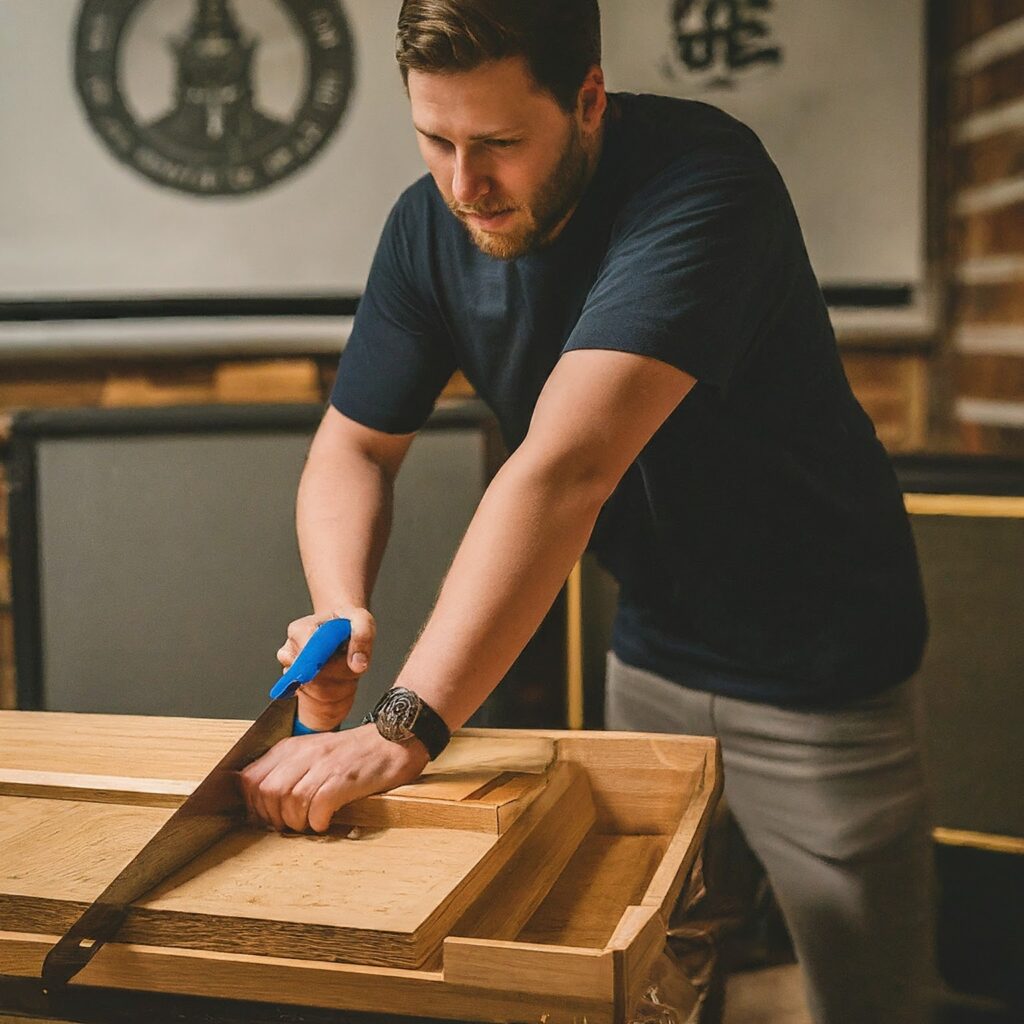
- Saw: For cutting the wood pieces to size.
- Measuring tape: To ensure accurate cuts and frame dimensions.
- Optional: Drill and screwdriver for added reinforcement with screws.
Instructions: Building Your DIY Bass Traps
Now that you're armed with the knowledge of bass traps and their mission, let's roll up our sleeves and get crafting!
Step 1: Planning And Measurements
- Measure the desired size and shape of your bass traps. Popular options include corner traps (triangular) and wall panels (rectangular). Consider the dimensions of your studio and where you plan to place them for optimal absorption.
- Cut the wood pieces using a saw and measuring tape, carefully cut the wood boards according to your chosen dimensions. Aim for clean and precise cuts for a professional finish.
Step 2: Frame Assembly
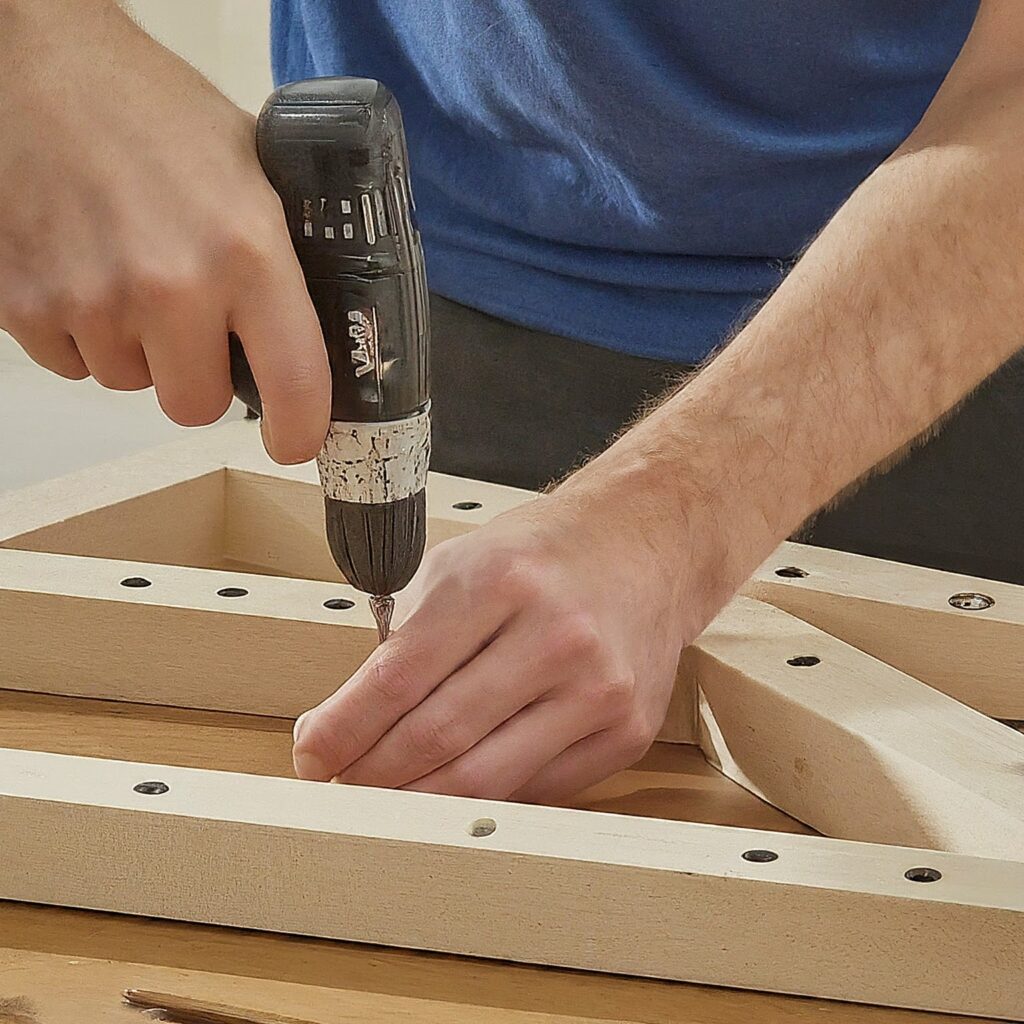
Assemble the wood pieces into a frame using screws or nails. For added stability, consider using corner braces, especially for larger traps. Ensure the frame is square and sturdy.
Step 3: Preparing The Insulation
Cut the insulation material to fit snugly inside the frame. It's crucial to have a dense but not compressed fill. Avoid overstuffing, as this can hinder sound absorption.
Step 4: Covering The Frame
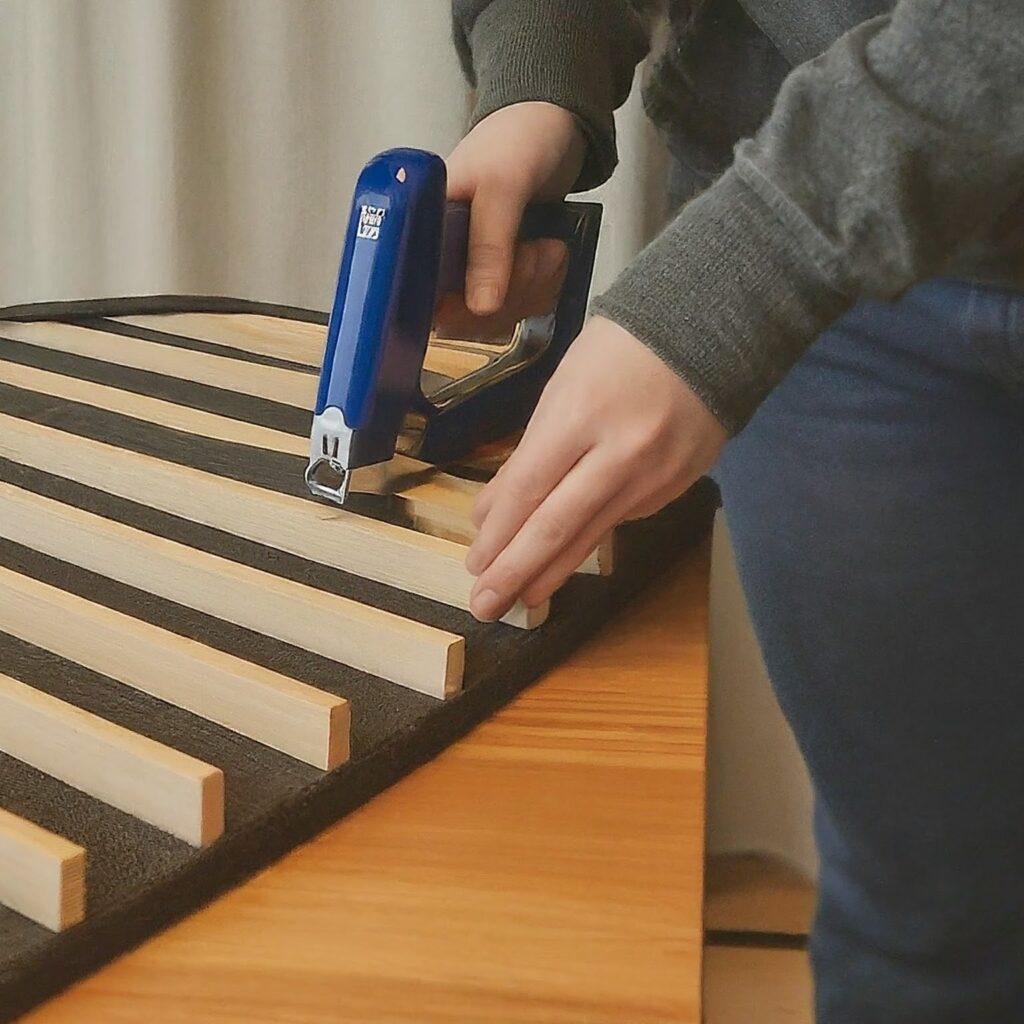
- Lay the acoustic fabric over the front and sides of the frame. Stretch the fabric taut and secure it using a staple gun, ensuring there are no wrinkles or gaps.
- Trim any excess fabric for a clean and finished look.
Step 5: Mounting (Optional)
Depending on your placement strategy, choose a suitable mounting method. Here are some options:
- Corner traps: Use picture wire and hooks to hang them in the corners of your studio.
- Wall panels: Add hanging brackets or French cleats for secure wall mounting.
Additional Tips
- Wear gloves and a mask while handling insulation materials to avoid irritation.
- Consider double-checking your measurements and cuts before assembly to ensure a seamless construction process.
- If you're a beginner, starting with smaller, simpler designs like corner traps might be easier.
With a little planning, effort, and these handy instructions, you'll be well on your way to crafting effective and stylish DIY bass traps that transform your home studio into a haven of clear, controlled sound.
Tips And Variations: Unleash Your Inner Acoustic Ninja
While we've covered the essential steps for building your DIY bass traps, there's always room for customization and exploration! Here are some additional tips and variations to unleash your inner acoustic ninja:
Size and Shape:
- Experiment with different sizes and shapes: While corner traps and wall panels are popular choices, you can explore options like ceiling clouds or even cylindrical traps for specific needs.
- Consider the room's acoustics: Analyze your studio's dimensions and identify areas where bass tends to accumulate. Place your traps strategically in those areas for maximum effectiveness.
Materials:
- Frame alternatives: While wood is a common choice, you can explore PVC pipes or MDF boards for lighter and potentially cheaper options.
- Insulation variations: Recycled denim insulation or acoustic foam can be budget-friendly alternatives, although their effectiveness might vary compared to dedicated sound absorption materials.
Aesthetics:
- Embrace the creative side: Choose fabrics that complement your studio's decor or even paint the frames for a personalized touch.
- Think beyond function: Consider incorporating geometric patterns or using different fabric colors to create visually appealing sound absorbers that double as decorative elements.
Related Article: How To Set Up A Home Recording Studio For Beginners
Frequently Asked Questions (FAQs)
Why is acoustic treatment important in home studios?
Acoustic treatment is crucial for managing sound within a space, especially for low-frequency absorption in home studios. It helps mitigate issues such as frequency build-up in corners, improving the overall sound quality for recording and mixing.
How many bass traps do I need for my home studio?
The number of bass traps needed depends on the size of your studio, its acoustics, and your desired level of absorption. Typically, a combination of corner traps and wall panels placed strategically in areas where bass accumulates is recommended. Start with a few traps and experiment with their placement to see how they affect the sound.
Can DIY acoustic treatment be as effective as professional solutions?
Yes, with proper understanding and application of room acoustics principles, DIY acoustic treatments can be quite effective. Success stories from the music industry demonstrate that music produced in DIY-treated home studios can achieve professional-level quality.
Can I paint the bass traps?
Absolutely! Painting the frames is a great way to personalize your traps and match your studio's aesthetics. Just ensure the paint you choose is breathable and doesn't significantly impact the fabric's acoustic properties.
I'm not very handy. Can I still build DIY bass traps?
Even if you're not a seasoned DIYer, building bass traps is a relatively straightforward process. Start with simpler designs like corner traps and use basic tools. Remember, there are also online resources and tutorials available to guide you through the process.
Final Thoughts
With a bit of planning, some elbow grease, and these handy tips, you're now equipped to tackle those pesky bass frequencies and transform your home studio into a sonic sanctuary. Remember, the beauty of DIY lies in the journey itself. Experiment, have fun, and don't be afraid to get creative! After all, the satisfaction of crafting your own acoustic solution, tailored to your specific needs and taste, is a reward in itself. Now, crank up the volume, hit play, and immerse yourself in the clear, controlled sound you deserve!
If you found this guide helpful, please consider subscribing to our blog for more music production tips, product reviews, and buying guides.
"Some of the links within this article are affiliate links. These links are from various companies such as Amazon. This means if you click on any of these links and purchase the item or service, I will receive an affiliate commission. This is at no cost to you and the money gets invested back into Audio Sorcerer LLC."