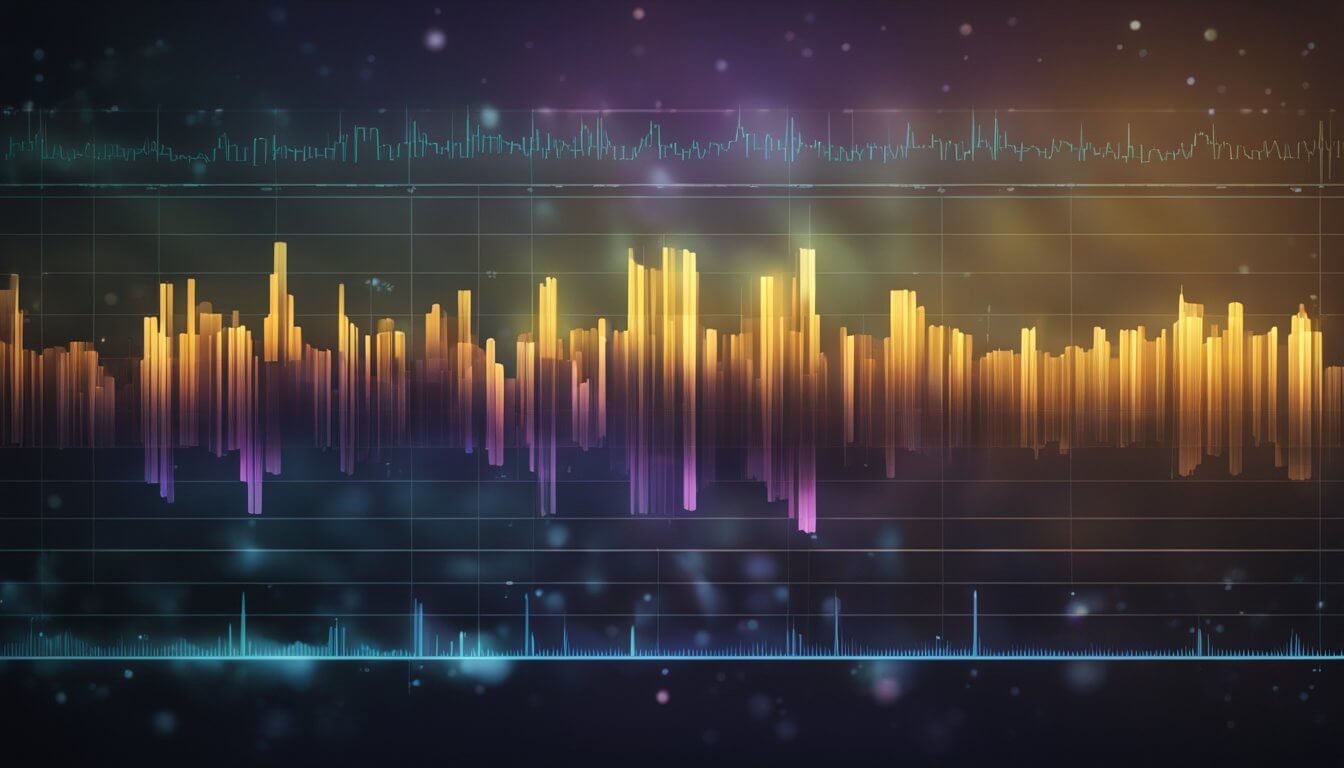
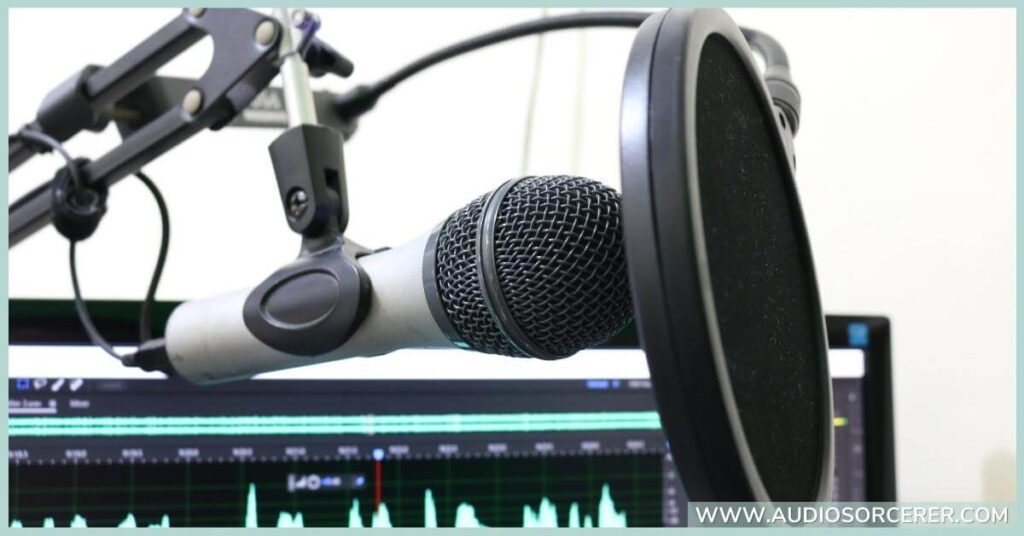
Audio ducking is an important mixing technique that can help uncover sounds that get lost in a mix. It is the process of lowering the volume of one audio signal when another audio signal goes above a certain threshold. This technique is commonly used in music production, podcasts, and radio shows to ensure that various audio elements are not competing with each other for the listener's attention. So, if you want to improve your audio mixes, read on!
TABLE OF CONTENTS
Understanding Ducking In Audio
Basic Principles
Ducking in audio refers to the process of reducing the volume of one audio signal when another audio signal surpasses a certain threshold. When used in music production, this technique helps to create a cleaner mix by ensuring that varying audio elements do not unknowingly clash or overpower one another.
In a typical ducking setup, you'll have two audio signals: the main signal and the sidechain signal. When the sidechain signal exceeds the specified threshold, the main signal's volume is compressed. This is done using a compressor with a sidechain input. The compressor settings, such as the ratio, attack, and release times, determine how the ducking effect will be applied.
Here is a breakdown of important terms:
- Compressor: An audio processor that adjusts the dynamic range of an audio signal.
- Threshold: A user-defined dB level determining when ducking will be triggered.
- Ratio: The ratio in which the volume of the main signal is reduced, typically expressed as x:1. Higher values create a more aggressive ducking effect.
- Attack Time: Time it takes for the compressor to start reducing the main signal's volume once the threshold is surpassed.
- Release Time: Time the compressor takes to release the reduction after the sidechain signal falls below the threshold.
We will discuss these terms in more detail later in the article.
Applications In Music And Broadcasting
Ducking in audio has various applications in which it can be used. Some common use cases include:
- Radio and podcast production: Ducking is often employed to automatically lower background music when a host or guest starts speaking, allowing the voice to be clear and intelligible.
- Music mixing: In this context, ducking is used to create pumping effects or to avoid frequency clashes between bass and kick drum sounds. This pumping effect is popular in EDM music.
- Audio post-production for video: In this scenario, ducking helps to balance dialogue, music, and sound effects, ensuring that important audio elements are not lost in the mix.
Technical Aspects Of Ducking
Threshold And Ratio
When applying ducking to your audio, you need to consider two key parameters: threshold and ratio. The threshold refers to the volume level at which ducking starts to take effect. For instance, if you set the threshold at -10 dB, ducking will only occur when the audio signal surpasses this level. On the other hand, the ratio determines how much the volume is reduced. A higher ratio (e.g., 8:1) means a more significant reduction, while a lower ratio (e.g., 2:1) results in a more subtle change.
Attack And Release Times
Attack and release times play an essential role in shaping the sound during ducking. The attack time refers to how quickly the audio's volume is reduced once the threshold is crossed. Faster attack times create a more immediate ducking effect, whereas slower times allow for a smoother decrease in volume.
Conversely, the release time defines how long it takes for the volume to return to its original level after ducking. Short release times can cause the audio to sound abrupt and disjointed, while longer release times create a more natural, gradual adjustment.
Sidechain Compression
Sidechain compression is a technique often used in ducking applications. In this approach, a compressor is connected to two audio signals: the main input and a sidechain input. The sidechain input acts as a "trigger" for the compressor, meaning that the level of this input determines the degree of compression applied to the main input. For ducking purposes, the primary audio track (e.g., background music) would be your main input, while the secondary track (e.g., vocals) would function as the sidechain input.
With sidechain compression, you can achieve precise control over the ducking effect by adjusting the parameters mentioned earlier (threshold, ratio, attack, and release). This allows you to create a more polished and professional-sounding mix that preserves the intelligibility of speech against a dynamic musical backdrop.
Related Article: Compressor Cheat Sheet | The Only Guide You'll Ever Need!
The 3 Most Common Applications Of Audio Ducking
Music Production
In music production, audio ducking can be utilized effectively to enhance the clarity of various elements in your mix. While producing electronic dance music (EDM), for instance, ducking is commonly applied to allow the kick drum to cut through the mix prominently by temporarily reducing the level of other elements such as bass, pads, and vocals when the kick occurs. To achieve this effect, you can employ sidechain compression or volume automation in your digital audio workstation (DAW).
Broadcast And Podcasting
In the context of live sound and podcasting, audio ducking can be incredibly valuable for maintaining clarity and ensuring the important elements of your mix stand out. Ducking is commonly used to automatically lower the volume of background music or sound effects during voiceovers, allowing the speaker's voice to be heard more clearly.
In broadcast and podcasting, you can apply ducking in your DAW to achieve similar results, reducing the volume of background music or other audio whenever the host or guests are speaking. This creates a pleasant balance between music and dialogue, enhancing the overall listening experience for your audience.
Live Sound
Audio ducking is more geared toward electronic music when it comes to live sound. DJs often utilize ducking to make smooth transitions between tracks and to control the overall volume levels during their live sets. By automating volume levels, they can combine their creativity with technical precision to ensure the audio sounds clear and the energy keeps flowing.
Advanced Ducking Techniques
In this section, we will explore advanced ducking techniques that can level up your audio production skills by combining dynamic EQ and volume automation, as well as some creative effects and sound design approaches.
Dynamic EQ And Volume Automation
Dynamic EQ is a powerful tool that allows you to apply specific EQ adjustments based on the input level of a signal. With dynamic EQ, you can create a pumping effect or add clarity and space in your mix by reducing specific frequency ranges only when they interfere with other sounds in the mix.
Here's how to create advanced ducking effects with dynamic EQ:
- Identify the problematic frequency range (e.g., the bass clashing with the kick drum)
- Apply a dynamic EQ to the interfering sound
- Set the threshold to trigger the EQ reduction only when the target sound is present
Volume automation is another technique that can create more dynamic and effective ducking effects. By automating the volume levels of specific tracks, you can create smooth transitions and maintain an even balance between different audio elements.
For volume automation, follow these steps:
- Identify the audio track that needs ducking
- Create an automation lane for the track's volume
- Draw volume curves to follow the desired ducking pattern
Creative Effects And Sound Design
Ducking can be a powerful tool for sound design, allowing you to shape the space and dynamics of your audio. By creatively applying effects in conjunction with ducking, you can transform your audio into a unique and immersive soundscape.
For example, you can use reverb and delay effects to create a sense of space and depth in your mix. By ducking these effects when crucial sounds are present, you ensure that your audio remains clear and uncluttered.
In addition, advanced ducking techniques can serve as a subtle way to emphasize certain elements in your mix. For instance, you can apply compression and sidechain ducking to create a rhythmic pumping effect that enhances the groove of your track.
Frequently Asked Questions (FAQs)
What exactly is ducking in audio?
Ducking is an audio processing technique where the volume of one sound source is automatically reduced when another sound source is present. This is commonly used in scenarios where background music is lowered when someone starts speaking.
How does ducking differ from compression?
While both ducking and compression involve manipulating audio levels, they serve different purposes. Compression reduces the dynamic range of an audio signal, making loud sounds quieter and quiet sounds louder. Ducking, on the other hand, specifically lowers the volume of one audio track to allow another to be more prominent.
In what situations is ducking commonly used?
Ducking is widely used in radio and TV broadcasting (e.g., when music fades out during a voice-over), in live event production, in podcasts for intro and outro music, and in music production for effects like side-chain compression in electronic dance music.
Can ducking be done manually, or does it require special software?
While ducking can be done manually by adjusting audio levels in real-time or during post-production, it's often more efficient to use software or hardware that can automate the process based on predefined parameters.
Are there any common mistakes to avoid when using ducking?
Overusing ducking or setting it too aggressively can lead to an unnatural and distracting audio experience. It's important to adjust the settings carefully to achieve a balance that feels smooth and enhances the overall audio quality.
Final Thoughts
Ducking is an essential tool in audio mixing that can greatly help in achieving a clearer sound for your projects. As an audio engineer or content creator, it is important to remember that ducking should be implemented with care and consideration. Overuse or misapplication may result in an unnatural-sounding mix or a loss of impact and emotion. Start making use of ducking in your projects today and experience the benefits of this powerful technique for achieving more defined audio mixes.
If you found this guide helpful, please consider subscribing to our blog for more music production tips, product reviews, and buying guides.
"Some of the links within this article are affiliate links. These links are from various companies such as Amazon. This means if you click on any of these links and purchase the item or service, I will receive an affiliate commission. This is at no cost to you and the money gets invested back into Audio Sorcerer LLC."