Struggling with EQ in your music production? Don’t worry—we’ve got you covered! Our EQ Cheat Sheet and complete audio equalization guide will teach you the best practices for pro-sounding mixes.
We’ll break down EQ fundamentals and show you where each instrument sits in the frequency spectrum. From kick and snare to bass and vocals, you’ll get a detailed guide to dialing in the perfect mix.
Ready to level up your mixing skills? Let’s dive in!

What Is Equalization In Audio?
Equalization in audio (EQ) is the process of adjusting the balance of different sound frequencies in an audio signal. Usually, these adjustments are made within the range of human hearing, from 20 Hz to 20 kHz. The goal of EQ is to shape these frequencies to achieve a clear and balanced sound.
EQ can also be used to clean up, enhance, or even distort a sound. An audio engineer will determine the best way to balance the sound while mixing a song. They often use corrective EQ to fix problems in the mix, but they might also use it creatively to find new sounds. For example, EQ is commonly used to create the well-known telephone effect on vocals.
Frequency in Music
Frequency in music relates to how air vibrates. For example, when you pluck a violin string, it vibrates and changes the air pressure quickly, creating sound waves. These sound waves are vibrations over time, and the frequency of the string, measured in Hertz (Hz), tells us how many times it vibrates each second. This frequency affects the pitch we hear.
The Human Hearing Range
The human frequency hearing range is approximately 20 Hz – 20 kHz. However, this range can differ from person to person for various reasons including age and hearing impairment.
Fundamental Frequencies and Overtones
Every musical instrument has a main frequency it resonates at, called its fundamental frequency. This fundamental frequency can also create extra frequencies known as overtones. Overtones are multiples of the fundamental frequency and help define an instrument’s unique sound.
For example:
- The fundamental frequency of a piano note might be 440 Hz (the A4 note), but it will also produce overtones at 880 Hz (the A5 note), 1320 Hz (the E6 note), and so on.
- Similarly, a guitar string playing an open E note has a fundamental frequency of 82.41 Hz but also generates overtones at 164.81 Hz (the E2 note), 247.23 Hz (the B2 note), etc.
Understanding these frequencies helps us see why different instruments sound unique even when playing the same note.
Timbre and Its Components
Timbre is what makes each instrument sound unique, even when playing the same pitch. It’s created by the mix of fundamentals, overtones, and percussive elements like strikes or plucks.
For example, playing an A note on both a piano and a guitar results in the same pitch but different timbres due to variations in overtones. Similarly, if two singers hit the same E note, but one uses chest voice and the other head voice, their timbres will still differ.
Overtones play a crucial role in shaping an instrument’s identity. Without them, sounds would lack character and blend together. A piano key or a guitar string, when played alone, may seem simple—but with natural resonances and overtones, each instrument becomes rich and distinct.
This interplay of frequencies is what gives music its depth, creating diverse listening experiences across genres and cultures.
3 Ways to Use EQ

If you have ever stood behind the soundboard in church or at a concert, you know those knobs can look pretty scary. But don’t worry! Learning to use a soundboard, applying EQ correctly, and creating a great mix of sounds isn’t as hard as it seems. With the right tools and some practice, you can become skilled in these important audio techniques.
When you listen closely to modern recordings, you’ll notice that almost every track has been adjusted with EQ in some way. To get the best sound from your mixes, it’s important to follow some basic EQ principles. These tips will help make EQing your tracks easier and more effective.
Filtering in EQ
Filtering in EQ means lowering or removing certain audio frequencies while letting others through. This is important for understanding how to balance sound and adjust frequencies in a mix. The main types of filters are low-pass, high-pass, and band-pass filters, each with its own function.
Types of Filters
- Low-Pass Filter: Lets low frequencies through and reduces higher ones. This helps keep warmth in the lower sounds.
- High-Pass Filter: Removes low frequencies to clear up muddiness and improve the overall mix.
- Band-Pass Filter: Combines both high-pass and low-pass features, allowing a specific range of frequencies while reducing others.
With the use of a parametric equalizer, these filtering methods can be achieved easily ensuring each instrument fits well in the frequency range.
Subtractive EQ

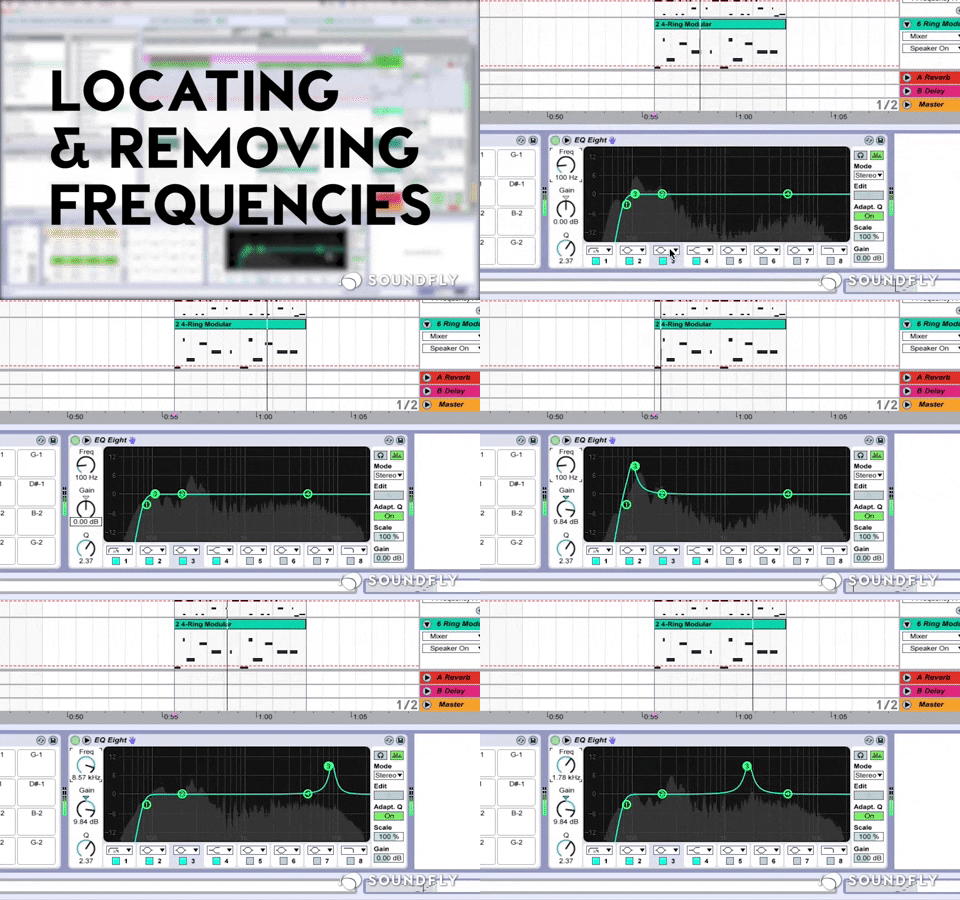
Subtractive EQ is an important technique in audio mixing. It involves finding and lowering or removing unwanted frequencies. By doing this, you can make your mixes clearer and more balanced, allowing other sounds to stand out without getting in the way.
Additive EQ
Sometimes, recorded instruments need a bit more brightness in a mix. By boosting certain frequencies or widening the frequency range of these instruments, we can make them stand out more or highlight specific tonal qualities. This technique is known as additive EQ.
Key Audio Frequency Ranges
Knowing the different audio frequency ranges is important for improving your EQ skills when mixing. In this section, we will briefly look at the frequency spectrum to help you understand and identify instrument frequencies in music production. By getting to know these frequency ranges, you’ll be more prepared to make the correct eq adjustments for each instrument.
60 Hz Frequency Range
Usually, we recommend using the 60 Hz frequency range for big changes in the sound of bass instruments. Boosting this range makes instruments like the bass guitar, kick drum, and toms sound fuller. While increasing this frequency adds richness, cutting it can lessen the bass’s impact or boom. It’s common to boost this range for kicks or bass in genres like dance or EDM.
100 Hz Frequency Range
Increasing the 100 Hz frequency range makes low-frequency instruments sound stronger. It adds fullness to guitars and snare drums and gives warmth to pianos and horns. This frequency is also useful for boosting kick drums and bass guitars in rock or metal music where deep sub-bass isn’t necessary.
200 Hz Frequency Range
Increasing the 200 Hz range will make vocals and snare drums sound fuller and give guitars a thicker sound. Lowering this frequency can help clear up muddy sounds in vocals or mid-range instruments and reduce the gong sound of cymbals.
300 – 600 Hz Frequency Range
Cutting here increases the punch for kick drums. It’s not uncommon to see cuts as large as 12 dB to enhance the kick drum sound. Cuts here also decreases the ambiance on cymbals. Boosting at 400Hz adds clarity to bass lines, especially when mixing on speakers at low volume or smaller speakers.
700 – 800 Hz Frequency Range
Boosting the 700-800 Hz range adds clarity and punch to the bass guitar. Lowering this range can improve the sound of acoustic guitars by getting rid of that “cheap” tone that often comes from a bad recording.
NOTE: The 800 Hz – 1 kHz range can have a “honky” sound in some instruments. If you notice this unpleasant tone, it’s best to reduce it here.
1-2 kHz Frequency Range
Boost to increase the clarity and pluck of the bass guitar. Cut to reduce or remove dullness of guitars and nasal sound of vocals.
NOTE: If you want that Fender Precision bass sound, do a healthy boost at 1 kHz.
4-5 kHz Frequency Range
Boosting the 4-5 kHz range can greatly improve vocal clarity, add punch to toms, and highlight the sound of fingers on the bass guitar. On the other hand, reducing this range can make background sounds and instruments feel more distant while softening sharp-sounding guitars.
NOTE: A boost here will help vocals cut through the mix but it can also make them sound harsh. It’s important to balance this upper midrange with the lower midrange (200-300 Hz) to achieve a well-rounded lead vocal.
7 kHz Frequency Range
Increasing the 7 kHz frequency range can make percussion instruments hit harder and give more energy to soft vocals. This boost can also make synthesizers sound sharper and improve the clarity of rock guitars, acoustic guitars, and pianos. On the other hand, reducing this range can help lessen sibilance, which is important for de-essing.
Frequencies Above 10 kHz
Frequencies above 10 kHz often add a sense of airiness to instruments, so it’s best not to boost everything too much in this range. You might want to boost vocals for better clarity or brighten up the acoustic guitar for more sparkle. Also, cutting in this range can help reduce sibilance in vocal tracks.
NOTE: Be cautious about boosting cymbals here. They usually have plenty of energy in this range already, so a boost is often unnecessary.
What Is an EQ Cheat Sheet and What Are Its Benefits?

EQ cheat sheets are popular among those seeking help with sound mixing while making their own music. So, what is an EQ cheat sheet?
An EQ cheat sheet, also called an audio frequency chart or instrument frequency chart, isn’t a strict set of rules to follow; it’s a helpful guide that gives you starting points and general ideas for mixing sounds, instruments, and vocals. It visually shows the frequency responses of instruments within the range of human hearing. This important tool helps you begin with audio equalization and can help you achieve your desired sound faster.
Keep in mind that not everyone agrees on EQ techniques, and an EQ cheat sheet is not a strict law. Therefore, it’s important to trust your ears while using an EQ cheat sheet as a reference.
A Complete Guide to EQ for 12 Common Instruments
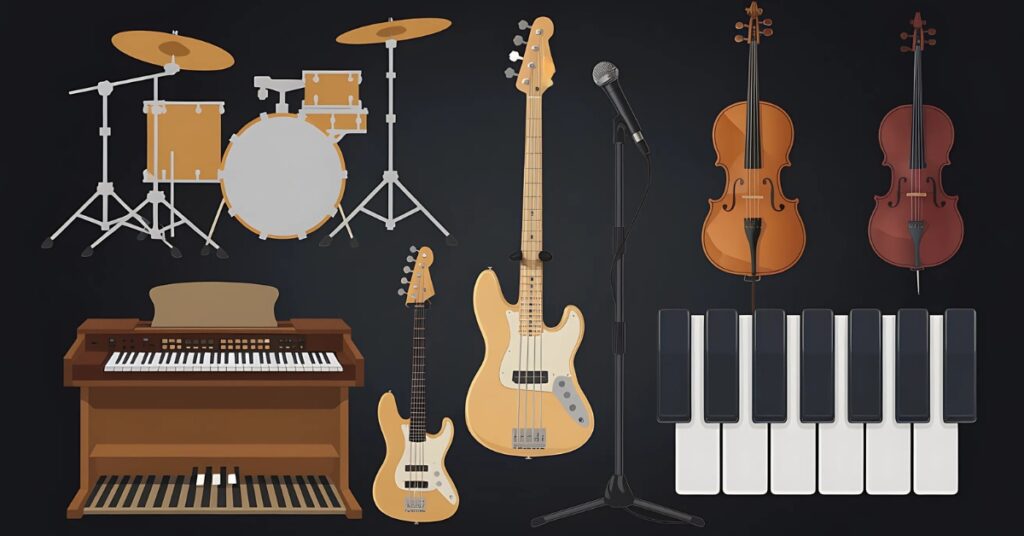
This complete EQ guide features an easy-to-follow cheat sheet with our suggested methods for EQing 12 instruments. These tips and tricks are designed to improve your mixes and boost your audio engineering skills. Let’s begin with the kick drum and explore some key EQ tips for it.
Kick Drum
The kick drum is usually the largest drum in a drum set and produces the lowest frequencies. It has a fantastic range of possibilities for tonal shaping.
TIP: Cutting heavily at 250 – 500 Hz will improve the kick sound.
- 50 – 100 Hz: Bottom
- 250 – 500 Hz: Ring/Hollowness
- 3 – 5 kHz: Beater attack
- 5 kHz and above: Snap
Snare Drum
Snare drum sounds mainly fall in the mid-range.
TIP: The body of the snare is key. Avoid reducing this range too much, or it will lose its punch.
- 100 – 300 Hz: Body
- 3 – 5 kHz: Attack/Crispness
- 7 – 10 kHz: Snap/Sizzle
Toms
Equalizing toms is easy; the goal is to reduce boxiness and increase the thump and attack.
TIP: Boosting high frequencies around 5 kHz will enhance the stick hit sound, helping it stand out in the mix.
Rack Toms
- 240 – 500 Hz: Fullness/Body
- 5 – 7 kHz: Attack
Floor Toms
- 80 Hz: Fullness/Boom
- 5 kHz: Attack
Cymbals
Equalizing cymbals and hi-hats is pretty straightforward. Their sharp metallic sound, often referred to as the clang, is around 200 Hz. When working on cymbals and hi-hats, it’s important to remember that they mainly exist in the high frequencies. So, you should focus on clearing up any muddiness and reducing the clang while making them clearer.
TIP: Avoid boosting a high-shelf EQ for cymbals too much. They already have plenty of brightness and don’t need much added above 8 kHz.
- 200 Hz: Clang
- 6 – 10 kHz: Sparkle/Sizzle
Percussion
The methods for mixing drums and percussion are generally the same.
TIP: Using a high-shelf starting around 5 kHz, with a minimal boost, will add the presence shakers and tambourines need to shine in a mix.
- 60 Hz – 100 Hz: Bottom
- 200 Hz: Ring
- 5 kHz: Slap
- 6 – 10 kHz: Sparkle/Sizzle
Bass
The kick and bass instruments often share similar sound ranges, which can cause them to compete in the mix. To achieve a clear sound, it’s essential to make sure they work well together. This might mean choosing whether the kick or bass will dominate the low-end sound of your mix.
TIP: I usually boost around 1 kHz to help the bass stand out in the mix. This is particularly useful when mixing a “real” bass rather than a synth bass.
- 50 Hz – 60 Hz: Bottom
- 80 Hz – 200 Hz: Fundamentals
- 300 – 700 Hz: Fullness
- 800 Hz – 2 kHz: Attack
Guitar
Different types of guitars need different EQ settings. For acoustic guitars, we want to make them sound warm and bright, while for electric guitars, we want to add some bite.
TIP: For rock guitars, you can achieve attitude and bite with an SSL emulated EQ by simply boosting the top two EQ bands until you get the sound to your liking. Beyond that, a high-pass filter up to around 80 Hz is the only other change you need on that specific EQ model. Easy Breezy!
Acoustic Guitar EQ Settings
- 120 Hz – 200 Hz: Boom/Body
- 200 Hz – 400 Hz: Fullness/Muddiness
- 2 – 5 kHz: Air/Presence
Electric Guitar EQ Settings
- 80 Hz and below: Rumble
- 240 – 500 Hz: Fullness/Body
- 1.5 – 2.5 kHz: Presence
- 3 – 8 kHz: Attitude/Brilliance
Piano
The piano produces a broad range of frequencies.
- 80 Hz: Richness
- 1 – 2.5 kHz: Honky-tonk tone
- 3 – 5 kHz: Clarity
Organ Frequency Ranges
There’s not a whole to mixing an organ and it usually doesn’t need much adjustment.
- 80 Hz: Fullness
- 240 Hz: Body
- 2 – 5 kHz: Presence
Synths
The variety of options in synthesizers can make it tricky to provide general advice, but here are some basic EQ guidelines for different frequency ranges:
- 400 Hz – 600 Hz: Thickness
- 1000 Hz – 2000 Hz: Bite
- 3 kHz – 4 kHz: Presence/Clarity
String Frequency Ranges
- 240 Hz: Fullness
- 7 – 10 kHz: Scratchiness
Vocals
When looking at male and female vocal frequencies, keep in mind that male voices are usually deeper and have more complex overtones than female voices. This means you should pay just as much attention to the higher range of a male vocal as you do for a female.
TIP: I treat vocals like electric guitars. When using an SSL-style EQ for vocals, I adjust the top two bands and use a high-pass filter for vocals up to 80 – 120 Hz.
- 100 Hz and Below: Rumble
- 240 Hz: Body/Boominess
- 1 kHz: Nasality
- 4 kHz – 7 kHz: Sibilance (think about reducing sibilance in vocals)
- 5 kHz: Presence/Excitement
- 10 kHz – 15 kHz: Air
Related Article: How To Mix Vocals: 8 Tips & Techniques For Radio Quality Tracks
FAQs (Frequently Asked Questions)
An EQ Cheat Sheet serves as a comprehensive guide for equalization, providing insights into instrument frequency spectrum and tips for achieving commercial-quality mixes.
The three main methods of equalization are filtering (low-pass, high-pass, band-pass), subtractive EQ (reducing problematic frequencies), and additive EQ (boosting specific instrument frequencies).
Equalization balances frequency components in an audio signal, allowing manipulation of frequencies to create a clear and balanced mix or to apply creative effects.
Important audio frequency ranges include: 60 Hz for bass fullness, 200 Hz for vocal and snare clarity, 300-600 Hz for kick drum punch enhancement, and above 4 kHz for vocal presence and airiness in instruments.
To improve the sound of your kick drum, consider cutting frequencies between 250-500 Hz for clarity while enhancing the lower frequencies to maintain fullness.
High-pass filtering up to 80-120 Hz, boost around 2-3 kHz for clarity, and cut around 7 kHz to reduce sibilance.
Final Thoughts
A good recording is essential to a good mix; in between these steps, you need smart EQing to make a good mix great. The tips provided herein will get you started on your journey to making great tracks. Remember, nothing can replace the effort you put into practice. Keep EQing!
Some links in this article are affiliate links. These links come from various companies like Amazon. If you click on one of these links and buy something, I will earn a commission at no extra cost to you, and that money goes back into Audio Sorcerer LLC.


